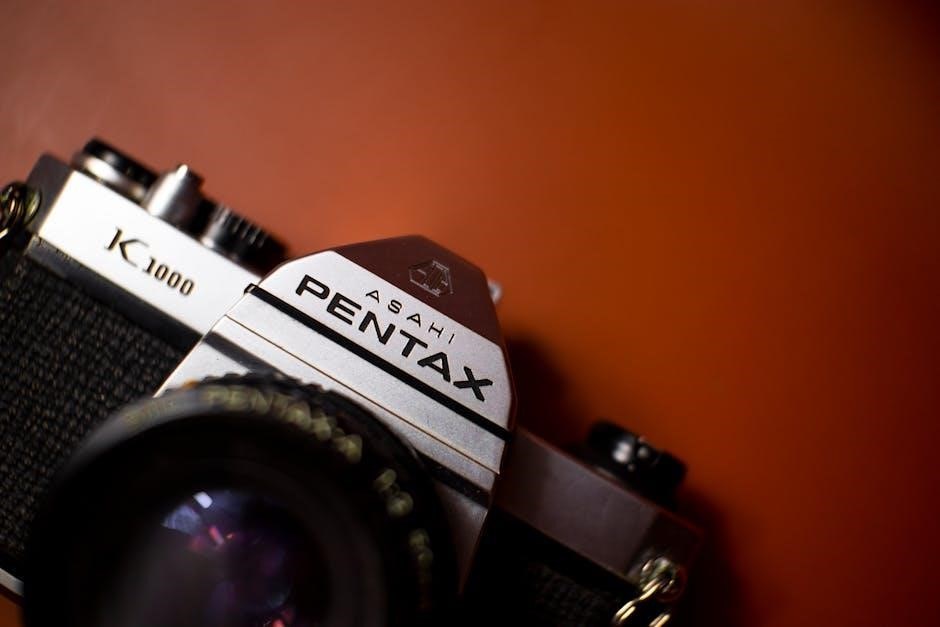
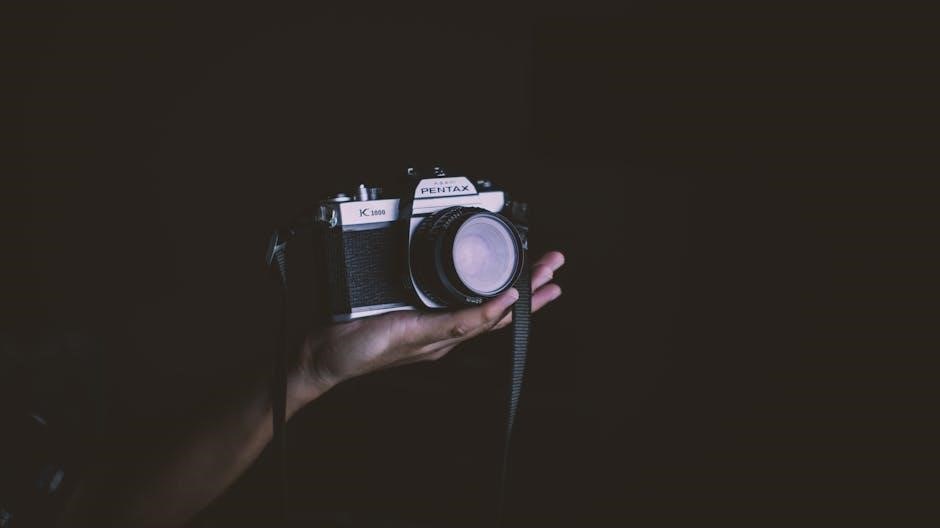
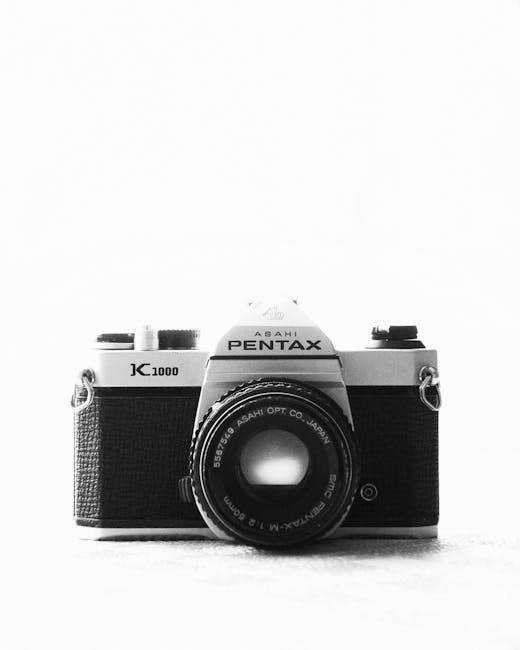
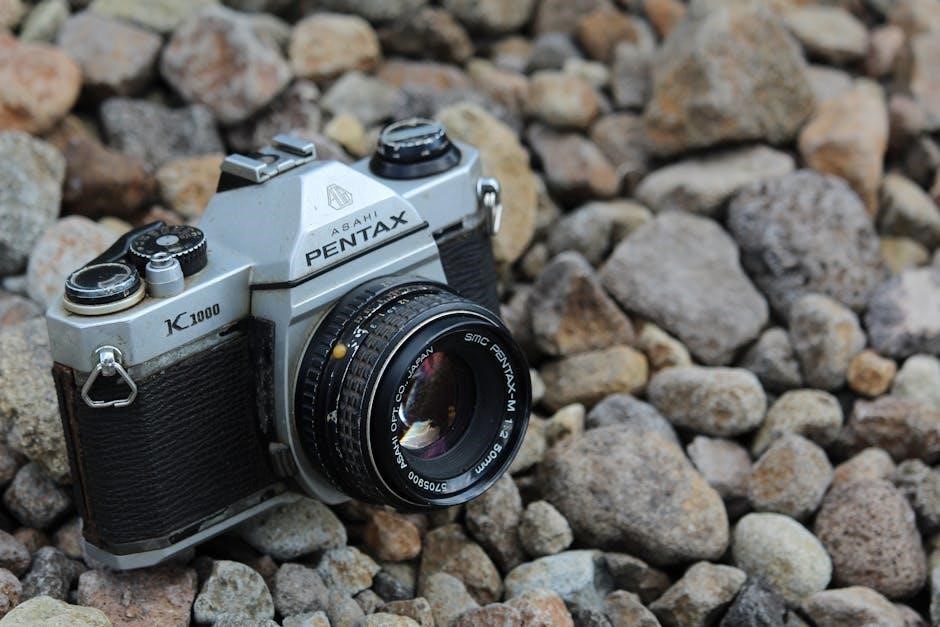
The Pentax K1000 is a legendary 35mm film SLR camera known for its durability and simplicity. Introduced in 1976, it features a fully manual operation, mechanical shutter, and compatibility with a wide range of lenses. Its battery-free metering system makes it a reliable choice for photography enthusiasts and students.
1.1 Overview of the Camera
The Pentax K1000 is a 35mm film SLR camera introduced in 1976, renowned for its durability, simplicity, and fully manual operation. It features a mechanical shutter, battery-free metering, and compatibility with a wide range of lenses. Its robust design and intuitive controls make it a favorite among photography enthusiasts and students. The camera’s reliability and ease of use have solidified its place as a classic in film photography.
1.2 Importance of the User Manual
The Pentax K1000 user manual is essential for mastering the camera’s operation. It provides detailed instructions on loading film, setting aperture, and using the light meter. The manual also explains advanced techniques like multiple exposures and troubleshooting common issues. With clear guidance, it ensures users optimize the camera’s capabilities, making it indispensable for both beginners and experienced photographers. Regular reference to the manual enhances shooting efficiency and creativity, unlocking the full potential of the K1000.
Key Features and Specifications
The Pentax K1000 is a 35mm film SLR with a horizontal cloth focal-plane shutter, offering shutter speeds from 1/8 to 1/1000 seconds and B mode. It features a built-in light meter supporting ASA 20-3200 film speeds, a pentaprism viewfinder with 0.88x magnification, and a self-timer with a 10-second delay. The camera is fully mechanical, requiring no batteries for operation, and is compatible with K-mount lenses, making it versatile for various shooting scenarios.
2.1 Camera Design and Build
The Pentax K1000 boasts a rugged, all-metal body designed for durability and ease of use. Its ergonomic layout includes a comfortable grip and intuitive controls. The camera features a mechanical shutter system with a horizontal cloth focal-plane shutter, ensuring precise control over exposures. The viewfinder provides a bright, clear view with a pentaprism and ground-glass screen for accurate composition. Built to last, the K1000 is a reliable tool for photographers, combining simplicity with robust construction for years of dependable service.
2.2 Lens Compatibility
The Pentax K1000 is compatible with a wide range of Pentax K-mount lenses, offering versatility for various photography needs. Its universal mount supports both manual and autofocus lenses, including the popular 50mm f/2 standard lens. Additionally, the camera can use lenses from other manufacturers with compatible adapters, making it a flexible choice for photographers who want to explore different optical options. This broad compatibility ensures the K1000 remains a versatile tool for creative expression and technical precision.
2.3 Exposure Control and Metering
The Pentax K1000 features a center-weighted TTL metering system that provides accurate exposure readings. The camera offers manual exposure control, allowing users to adjust aperture and shutter speed independently. The built-in meter operates with a match-needle system, indicating proper exposure when the needles align. Battery power is required for the meter, but not for the mechanical shutter. This system ensures precise control over lighting conditions, making it ideal for photographers who prefer a hands-on approach to exposure management.
Loading Film
To load film, open the camera back, insert the film spool, and advance the film to the take-up spool. Set the film speed (ISO) on the meter.
3.1 Preparing the Camera
Before loading film, ensure the camera is prepared. Check the battery level for the light meter, clean the lens, and ensure no film is already loaded. Open the camera back by pulling the rewind knob. Remove any leftover film and ensure the film spool is empty. Wind the film advance lever to set the camera to the first frame. This ensures smooth operation and prevents any issues during film loading. Always rewind the film completely before reloading to avoid exposure. Set the film speed (ISO) on the meter for accurate exposures.
3.2 Inserting and Advancing Film
Insert the film canister into the left side of the camera. Pull the film leader and align it with the red mark on the take-up spool. Close the camera back firmly. Advance the film by turning the rewind knob counterclockwise until it stops. This ensures the film is properly loaded and ready for use. Always check the rewind knob for resistance to confirm the film is advancing correctly. Proper film advancement is crucial for accurate frame spacing and exposure.
3.3 Setting the Film Speed
After loading the film, set the film speed using the ISO dial on the camera’s top. Rotate the dial to match the film’s ISO number, ensuring accurate exposure readings. The dial adjusts the light meter’s sensitivity, so precise setting is essential. Once set, the meter will provide correct aperture and shutter speed recommendations. Always double-check the ISO setting before shooting to avoid incorrect exposures. Proper film speed setup ensures optimal image quality and accurate metering performance.
Basic Camera Operation
The Pentax K1000 operates manually, requiring users to set aperture, shutter speed, and focus. Use the lens aperture ring and shutter speed dial to control exposure, ensuring proper focus with the focusing ring. The built-in light meter aids in achieving accurate exposures, making it essential to master these fundamental controls for optimal results.
4.1 Setting Aperture and Shutter Speed
To set the aperture on the Pentax K1000, use the aperture ring on the lens, selecting from f/2 to f/16. For shutter speed, adjust the dial on top of the camera, choosing from 1/1000 to 1 second, plus Bulb mode. Ensure the light meter needle aligns with the center mark for proper exposure. Always check the lens cap is off to avoid accidental underexposure. Proper alignment ensures ideal exposure settings for your shots.
4;2 Focusing and Composing Shots
To focus, use the lens focusing ring, turning it until your subject appears sharp in the viewfinder. The K1000 features a split-image focusing aid and microprism spots for precise manual focusing. For composition, frame your shot using the viewfinder’s guidelines, ensuring the subject is centered or placed off-center for creative balance. Use the depth of field preview button to check the focus range before shooting. Proper focus and composition ensure sharp, well-framed images every time.
4.4 Using the Built-in Light Meter
The Pentax K1000 features a built-in light meter for precise exposure control. It uses a match-needle system in the viewfinder to indicate proper exposure settings. Adjust aperture and shutter speed until the needle aligns with the center mark. The meter operates on a single LR44 battery, which powers the exposure meter only. Keep the lens cap on when not in use to conserve battery life. This ensures accurate exposures in various lighting conditions.
Metering and Exposure Control
The Pentax K1000 offers precise metering and exposure control through its match-needle system. Adjust aperture and shutter speed manually to achieve accurate exposures, ensuring optimal results.
The Pentax K1000 utilizes a center-weighted metering system, providing accurate exposure readings. Through the lens, the built-in light meter measures the intensity of the light, offering a match-needle system. Users adjust aperture and shutter speed to center the needle, ensuring proper exposure. This manual method allows for precise control, accommodating various lighting conditions effectively. The meter operates at ISO settings from 20 to 3200, ensuring versatility for different films. Exposure compensation on the Pentax K1000 is achieved by manually adjusting aperture, shutter speed, or ISO. Since the camera lacks automatic modes, users must compensate by altering these settings based on the meter’s readings. For brighter results, open the aperture or slow the shutter; for darker results, do the opposite. This manual approach ensures precise control over exposure, allowing photographers to achieve their desired artistic effects. The K1000’s ISO range of 20-3200 accommodates various lighting conditions. The Pentax K1000 supports external flash units via its X terminal and hot shoe. The camera’s battery powers the meter, while the shutter remains manual.
The Pentax K1000 does not feature a built-in flash but supports external flash units through its X terminal and hot shoe. This setup allows for versatile lighting solutions, enabling photographers to attach compatible flash devices for enhanced illumination in low-light conditions. The camera’s manual operation ensures full control over external flash synchronization, providing flexibility for various photographic needs and creative techniques. The Pentax K1000 supports external flash synchronization via its X terminal and hot shoe. To sync, attach the flash unit to the hot shoe or connect it using a sync cable to the X terminal. Ensure the flash is set to the correct sync speed (1/125s for the K1000). Test the synchronization by firing the flash and checking exposure. This setup provides reliable illumination for low-light photography, enhancing creativity and control over lighting conditions. The Pentax K1000 features a K-mount system, allowing compatibility with a wide range of lenses, including wide-angle, telephoto, and macro options, enhancing creative and functional versatility. To mount a lens on the Pentax K1000, align the lens mount index with the camera’s mount mark. Twist the lens clockwise until it clicks into place. For dismounting, press the lens release button and twist the lens counterclockwise. Always handle lenses with care to avoid damage. The K-mount system ensures compatibility with a wide range of lenses, making it easy to expand your creative possibilities. Proper mounting and dismounting are essential for maintaining the camera’s functionality and image quality. The Pentax K1000 supports various lens types, including standard, wide-angle, telephoto, and macro lenses. Standard lenses like the 50mm f/2 are ideal for everyday photography. Wide-angle lenses capture broader scenes, while telephoto lenses are perfect for distant subjects. Macro lenses allow extreme close-ups, revealing intricate details. Each lens type offers unique creative possibilities, and the K1000’s compatibility ensures versatility for photographers exploring different styles and techniques. Proper lens selection enhances the camera’s functionality and expands artistic expression. Regular maintenance ensures optimal performance. Clean lenses with a soft cloth and avoid harsh chemicals. Store the camera in a dry place to prevent fungus. Troubleshoot common issues like shutter malfunctions or meter inaccuracies by consulting the manual or contacting support. Proper care extends the camera’s lifespan and maintains image quality. Regularly clean the camera body with a soft, dry cloth to remove dirt and fingerprints. Avoid harsh chemicals or abrasive materials. For lenses, use a microfiber cloth and a lens brush to gently remove dust. Smudges can be cleaned with a lens cleaning tissue and a small amount of lens cleaning solution. Store the camera in a dry, cool place to prevent fungus growth. Proper cleaning ensures sharp, clear images and maintains the camera’s longevity. Common issues with the Pentax K1000 include stuck shutters, inaccurate light meter readings, and fungus growth on lenses. Stuck shutters can be resolved by cleaning or replacing the shutter mechanism. Inaccurate meter readings may require recalibration. Fungus can be removed by professional cleaning or using a UV filter. Regular maintenance, such as cleaning and storing the camera properly, helps prevent these issues. Always use fresh batteries to ensure reliable operation. Explore advanced photography methods with the Pentax K1000, such as multiple exposures, self-timer usage, and shooting in challenging lighting conditions. These techniques enhance creativity and control. To achieve multiple exposures on the Pentax K1000, locate the multiple exposure lever near the film advance lever. After taking the first shot, pull the lever to enable multiple exposures. Frame your second shot carefully, ensuring proper alignment. Press the shutter again without advancing the film. Adjust exposure settings if needed to prevent overexposure. Complete by advancing the film normally. Use a tripod for consistent framing and adjust settings as required for optimal results. The Pentax K1000 features a mechanical self-timer for hands-free shooting. To activate, press the timer lever until it clicks. The timer releases the shutter after approximately 10 seconds. Use a tripod to stabilize the camera. Ensure the timer is fully reset after each use. This feature is ideal for self-portraits or group photos, eliminating camera shake for sharper images. Always allow the timer to fully cycle before taking the next shot for consistent results. The Pentax K1000 excels in various lighting scenarios due to its manual controls. In bright light, use faster shutter speeds and smaller apertures. In low light, opt for slower speeds or wider apertures. For backlit subjects, adjust exposure compensation or use a filter. The built-in light meter helps balance exposures. Experiment with overexposure or underexposure for creative effects. Always consider the ISO of your film for optimal results in any lighting condition. The Pentax K1000 is a timeless, reliable SLR camera cherished by photography enthusiasts. Its simplicity and durability make it a versatile tool for mastering manual photography techniques. The Pentax K1000 is a classic 35mm film SLR camera known for its simplicity, durability, and manual operation. It features a mechanical shutter, battery-free metering, and compatibility with a wide range of lenses. Designed for ease of use, it offers full control over aperture, shutter speed, and focus, making it ideal for learning photography fundamentals. Its robust build and timeless design have made it a favorite among enthusiasts and educators. This camera remains a versatile tool for mastering manual photography techniques. To maximize your experience with the Pentax K1000, always keep the lens cap on when not in use to prevent scratches. Regularly clean the lens and camera body to maintain image quality. Experiment with different lenses and film stocks to explore creative possibilities. Practice manual focusing and exposure control to refine your skills. Store the camera in a cool, dry place to preserve its mechanical components. Enjoy the process of shooting with film and embrace the unique character of this iconic camera.5.1 Understanding Metering Modes
5.2 Adjusting Exposure Compensation
Using Flash and External Accessories
6.1 Built-in Flash Operation
6.2 Syncing with External Flash Units
Working with Interchangeable Lenses
7.1 Mounting and Dismounting Lenses
7.2 Using Different Lens Types
Maintenance and Troubleshooting
8.1 Cleaning the Camera and Lenses
8.2 Common Issues and Solutions
Advanced Techniques
9.1 Multiple Exposures
9.2 Using the Self-Timer
9.3 Shooting in Different Lighting Conditions
10.1 Summary of Key Points
10.2 Final Tips for Getting the Most Out of Your Pentax K1000